
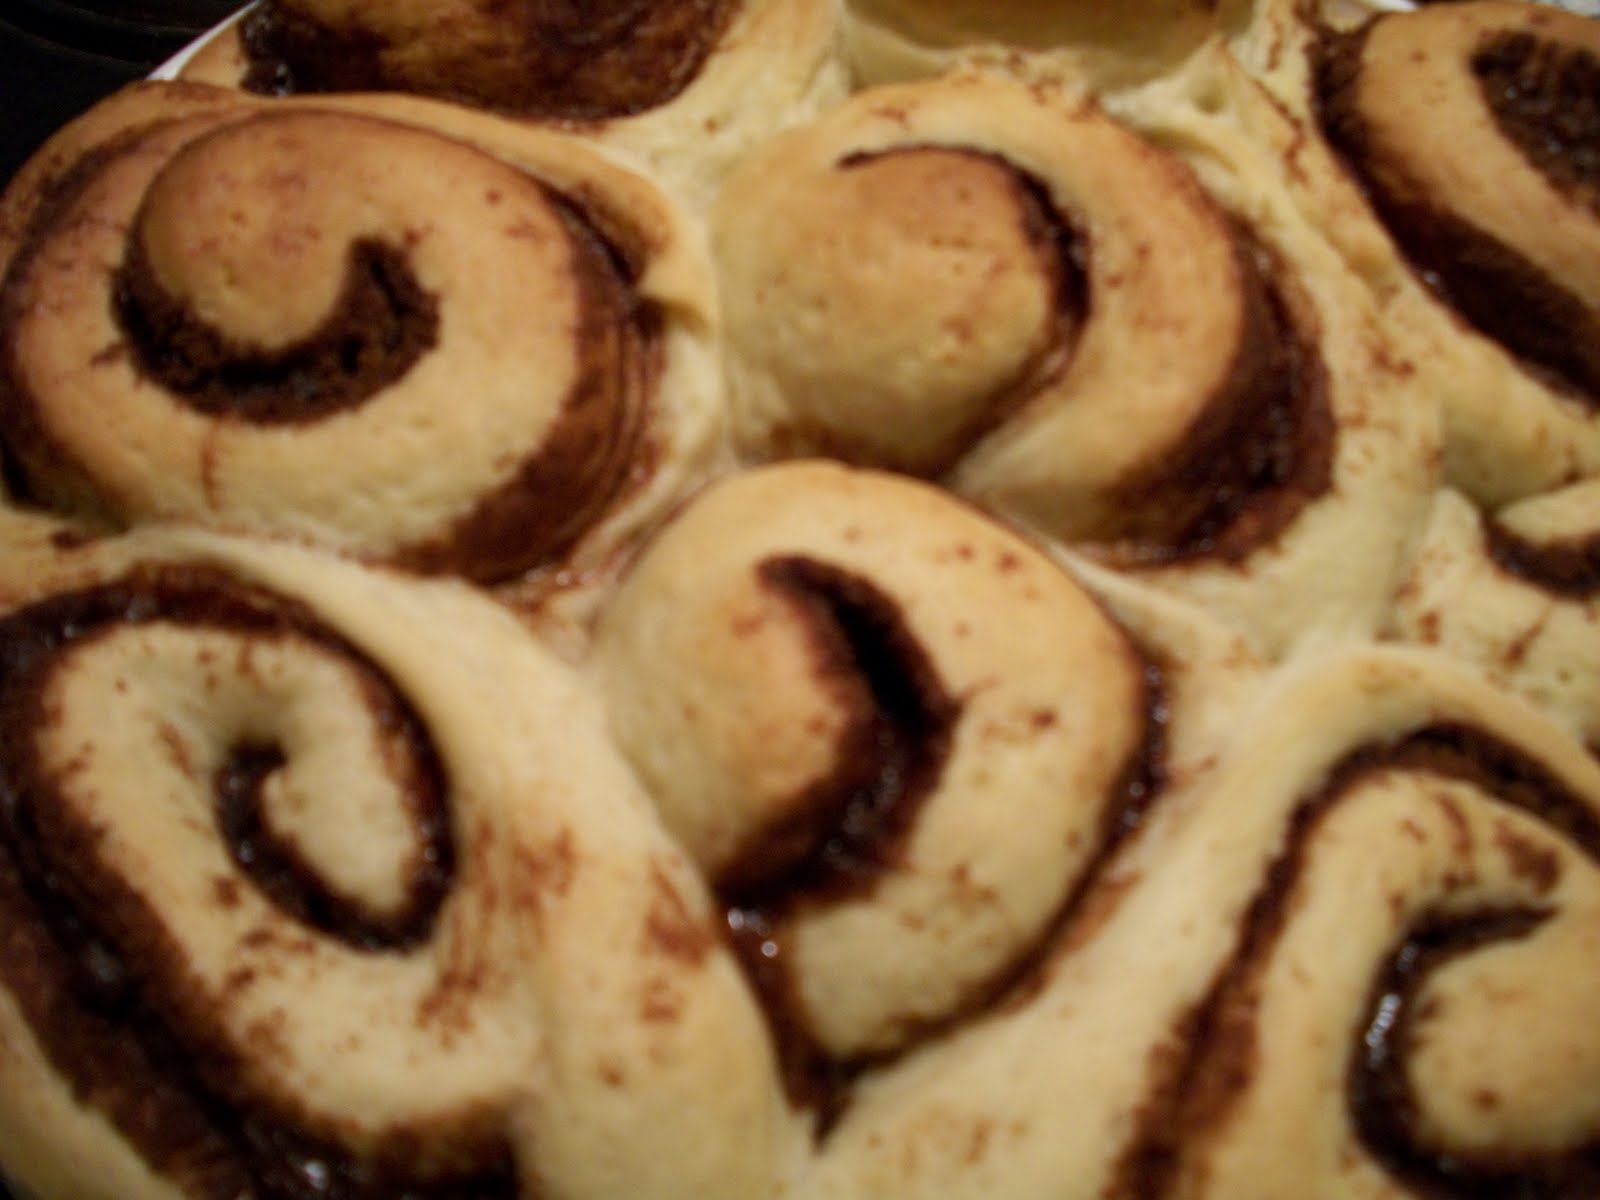
Charlotte constantly mentions the time she made cinnamon rolls. She describes it as one of the biggest challenges she's faced in the kitchen. On and on she goes about the dough and how hard it is to work with, how sticky it is, how long the recipe took, etc etc. After tackling the picnic table cake, everything we've baked since has seemed incredibly simple. So, we pulled out our new bible, Baking Illustrated, from the editors of Cook's Illustrated, and we got to work on cinnamon buns. Charlotte was right about the recipe taking a while. The dough has to rise twice, but we used our downtime to make another delicious treat which should be featured on here shortly. The rolls turned out big and beautiful. We completely forgot about glaze and whipped up a very basic icing with confectioner's sugar, butter and milk at the last minute, but the cinnamon buns were still incredible.
Cinnamon Buns
Adapted from Baking Illustrated
The Dough:
1/2 cup milk
8 tablespoons (1 stick) unsalted butter
1/2 cup warm water
1 envelope (about 2 1/4 teaspoons) instant yeast
1/4 cup sugar
1 egg + 2 egg yolks
1 1/2 teaspoons salt
4-4 1/4 cups unbleached all-purpose flour
For the filling:
3/4 cup packed light brown sugar
3 tablespoons ground cinnamon
1/8 teaspoon salt
For the icing:
3 cups of powdered sugar
4 tablespoons butter, softened
8-10 teaspoons of milk
2 teaspoon of vanilla
- Heat the milk and butter in a small saucepan or in the microwave until the butter melts.
- Remove the pan from the heat and set aside until the mixture is lukeworm.
- Mix together the water, yeast, sugar, egg, and yolks.
- Mix in 2 cups of the flour, until thoroughly blended.
- Add in another 2 cups of flour and knead. (You may need to add another 1/4 cup of flour.) Do this until the dough is smooth and freely clears the sides of the bowl.
- Scrape the dough onto a lightly floured work surface, shape the dough into a round, place it in a very lightly oiled large bowl, and cover the bowl with a towel or plastic wrap. Let rise for 1 1/2 to 2 hours.
- Once the dough has risen, press it down and turn it out onto a lightly floured work surface. Roll out the dough, and shape it into a 16 by 12-inch rectangle.
- Mix together the filling ingredients in a small bowl and sprinkle the filling over the dough, leaving a 1/2-inch border at the far edge.
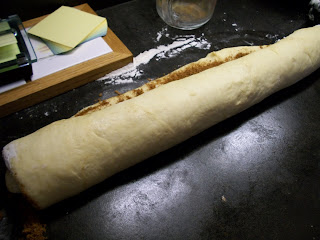
- Roll the dough into a log, make sure you start on the longer side, (16 inch side).
- Moisten the top border with water, and seal the roll.
- Grease a 13 x 9 baking pan.
- Cut the roll into 12 equal pieces using dental floss. Place the rolls, cut-side up, on the baking pan. Cover with plastic wrap or dish towel, let rise for 1 1/2-2 hours.
- Adjust an oven rack in the middle position, and heat the oven to 350 degrees fahrenheit.
- Once the rolls have risen, place the pan into the oven for 25-30 minutes.
- Mix together the powdered sugar, butter, milk and vanilla. Drizzle the icing on top of the finished rolls.
These rolls are best when served immediately, but unfortunately ours were finally ready late at night. They were a fabulous midnight snack and they were still good for breakfast, but by lunch they had lost their freshness, especially in the Nantucket humidity. We recommend serving them as soon as possible after they finish baking.


No comments:
Post a Comment