Pages

Saturday, July 17, 2010

Nectarine Upside-Down Cake


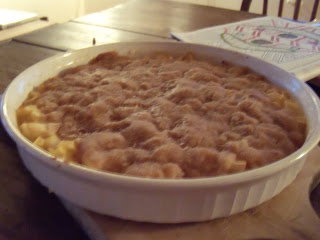
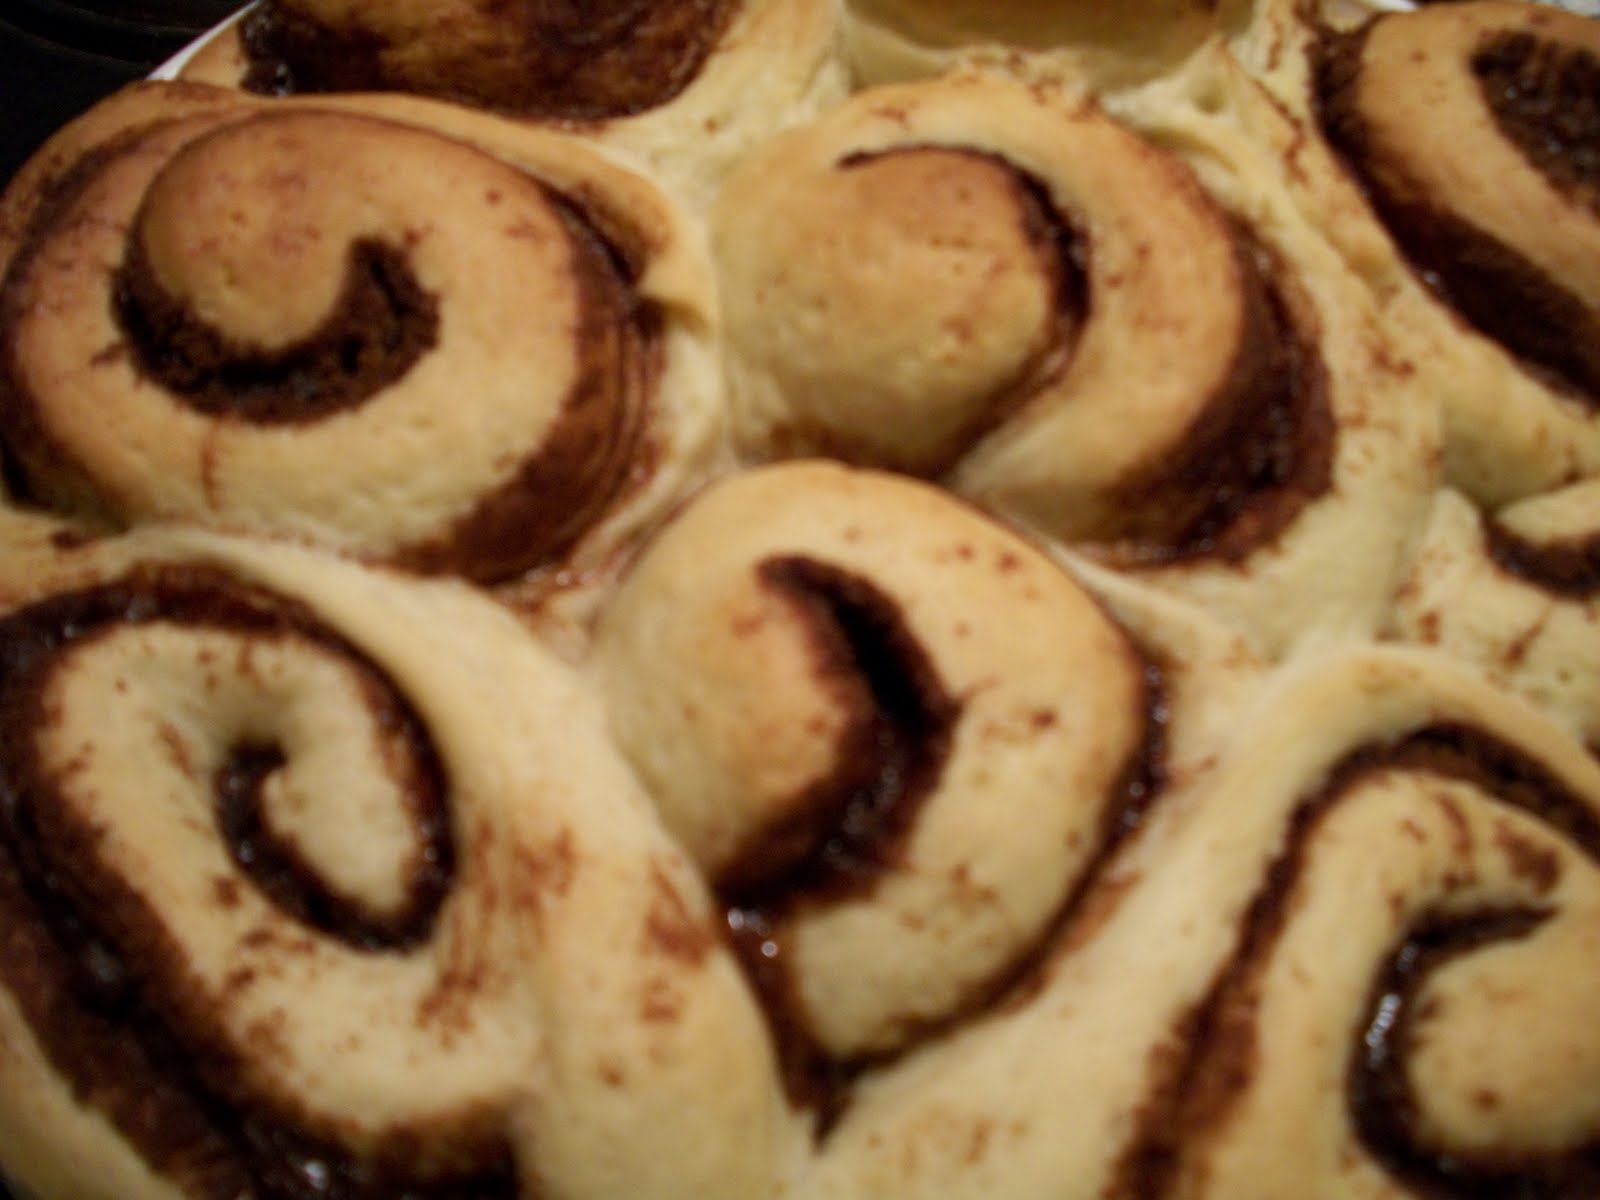
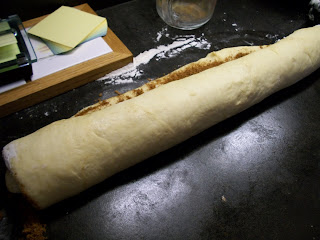
We mentioned that we made something else while waiting for the cinnamon bun dough to rise. Here it is! If you don't like nectarines, you can easily substitute peaches, plums, pineapple, or mangoes.           We ran into a couples obstacles with this cake. First, after preparing the sticky, caramely topping, we had to let it sit for a while because the nectarines had not been cut yet. The mixture solidified, but a few minutes on the still warm burner melted it again and it turned out fine. Next, we had to hand whip the egg whites due to the lack of a hand mixer (the vacation home kitchen is not fully stocked with all of the handy dandy tools that we keep at home). It was a huge pain and we weren't able to get them to the required hard peaks because it was getting late, so the cake ended up a little dense. Still, it was declared the best breakfast of the Nantucket trip.

Nectarine Upside-Down Cake
Adapted from Baking Illustrated

Topping:

4 tablespoons unsalted butter

3/4 cup packed brown sugar

4 nectarines

Cake:

1 1/2 cups unbleached all-purpose flour

3 tablespoons cornmeal

1 1/2 teaspoons baking powder

1/2 teaspoon salt

8 tablespoons unsalted butter, softened

1 cup + 2 tablespoons granulated sugar

4 eggs, seperated


1 1/2 teaspoons vanilla extract

2/3 cup milk
  1. Heat the oven to 350 degrees fahrenheit.
  2. Melt the butter in a 10-inch cast-iron skillet over medium heat.
  3. Add the brown sugar and cook, until the mixture is foamy and pale, 3 to 4 minutes.
  4. Take off the heat, and place the nectarines in concentric circles over the topping, (in the saucepan). Set aside.
  5. Whisk the flour, cornmeal, baking powder, and salt together in a medium bowl.
  6. Cream the butter in the bowl of a standing mixer at medium speed.
  7. Gradually add 1 cup of the sugar; continue beating until light and fluffy.
  8. Beat in the yolks and vanilla. Reduce the speed to low and add the dry ingredients and the milk alternately, until the batter is just smooth.
  9. Beat the egg whites in the large bowl of a standing mixer at low speed until frothy. Increase the speed to medium-high; beat to soft peaks. Gradually add the remaining 2 tablespoons sugar; continue to beat to stiff peaks.
  10. Fold a quarter of the beaten whites into the batter with a large rubber spatula to lighten.
  11. Fold in the remaining whites.
  12. Gently pour the batter on top of the nectarines in the sauce pan, be careful to not dislodge the fruit.
  13. Put the saucepan in the oven, and bake for 50 minutes.
  14. Rest the cake on a wire rack for 2 minutes. Slide a paring knife around the edge of the cake to loosen it from the pan. Place a serving platter over the pan and hold it tightly. Invert the cake onto the platter. Carefully remove the sauce pan.

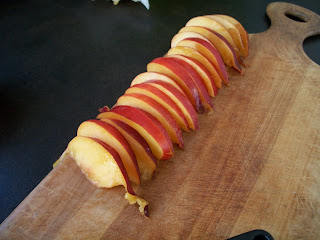
The nectarines we used were so difficult to cut. We thought that if we cut it in half, we could pull the two halves apart and the pit would cling to one side. However, the nectarines were so soft that they were impossible to split without squishing, so Charlotte had to rip each slice from the pit individually.


The sticky topping was too hot to eat, but we stole a spoonful anyway. It was incredible.


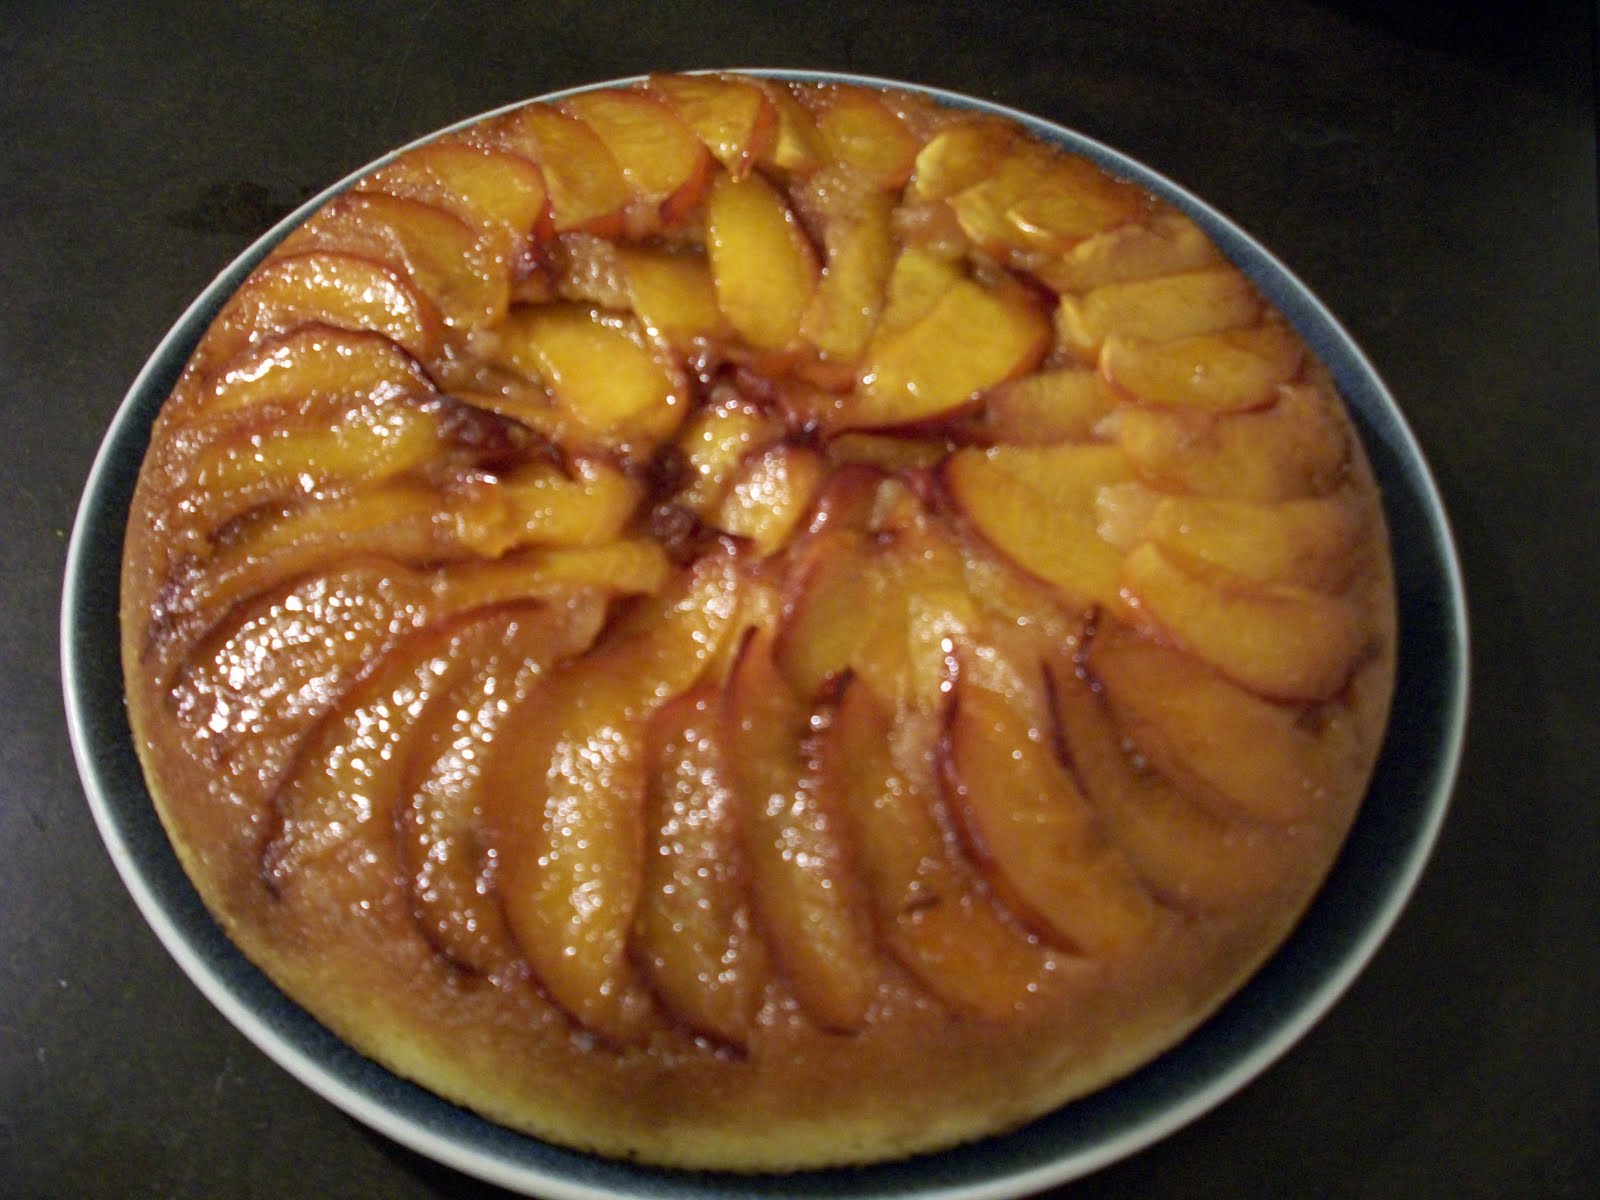
We thought the pattern was so pretty! If we did this again, we would start the concentric circles in the middle and build out, rather than layer from the outside in.


The picture does not do this cake justice. It was beautiful. We were so thrilled with the results that we ran across wet grass to the other house to wake up Charlotte's parents late at night and share our joy.

Sunday, July 11, 2010

Apple Goodness


Why hello there. Thanks for visiting BCBites! We are delighted to have you. We haven't posted in over a week, seeing as Charlotte has been in Nantucket and Byrne at softball camp. Still, that doesn't mean we haven't been baking! Now we are reunited, in Nantucket, and we have plenty of delicious treats to share with you.
During that brief period of time when we were apart, we both happened to make delicious apple goods. Byrne made mini apple pies, an adorable and mouthwatering confection. Charlotte made an apple crisp, not as charming, but definitely flavorful.
The apple pie recipe was found on ZoomYummy, one of our new favorite blogs. You can find the original post (and plenty of helpful pictures) here.
Byrne used half whole wheat flour, giving the pies a darker tone, but we would not recommend following in her footsteps. She simply ran out of all-purpose flour. The whole wheat made the dough more difficult to work with.

Mini Apple Pies

For the crust:

2 1/2 cups all-purpose flour

1 teaspoon salt

2 tablespoons sugar

1 cup unsalted butter, cut into pieces

1/4 to 1/2 cup ice water

Apple Filling:

8 medium apples; peeled, cored and diced

1/2 cup granulated white sugar

1 tablespoon lemon juice

1 teaspoon ground cinnamon

1/4 teaspoon salt

2 tablespoons unsalted butter

1 tablespoon plus 1 teaspoon cornstarch

a little vegetable oil (for the pan)

  1. Put the flour, salt, and sugar into a bowl. Stir it all together.
  2. Place the butter into the bowl, and mix with an electric mixer.
  3. Pour 1/4 cup water into the bowl in a steady stream until the dough holds together when pinched.
  4. Put plastic wrap over the dough and refrigerate for 1 hour.
  5. Peel, core and cut the apples.
  6. Place the apples, sugar, lemon juice, salt, cornstarch and melted butter into a bowl. Mix it together.
  7. Preheat the oven to 350 degrees fahrenheit.
  8. Grease your regular sized muffin tin.
  9. Remove the dough from the refrigerator, and place it on a lightly floured surface. Roll out the dough, and cut circles out of the dough. For each pie, you will need to cut out a larger circle (for the bottom) and a smaller circle (for the top). You can use cookie cutters, glasses or anything you find around the house.
  10. Press the larger circle into the muffin tin.
  11. Fill the dough with apple mixture.
  12. Take the smaller dough circle, and place on top of the pie.
  13. Press the edges down.
  14. Make 2 slits in the center of the pie, to allow steam to escape.
  15. Place in the oven, and bake for 25-30 minutes.
Charlotte's apple crisp didn't win the beauty contest for desserts, but it was extraordinarily simple and tasty. The whole recipe took just a few minutes. If you're not in the mood for apples, you can also use pears, peaches, plums, or a different fruit of your liking.

Apple Crisp
Adapted from Baking Illustrated

For the topping:

6 tablespoons unbleached all-purpose flour

1/4 cup packed light brown sugar

1/4 cup granulated sugar

1/4 teaspoon ground cinnamon

1/4 teaspoon ground nutmeg

1/4 teaspoon salt

5 tablespoons unsalted butter

For the filling:

3 medium Granny Smith apples

3 medium McIntosh apples

1/2 teaspoon grated lemon zest

1 1/2 tablespoons lemon juice

1/4 cup granulated sugar

  1. Place the flour, sugars, spices and salt in a bowl or food processor, and mix or process briefly to combine.
  2. Add the butter, mix or process. The mixture should look like slightly lumpy wet sand. Refrigerate the topping for at least 15 minutes.
  3. Adjust an oven rack to the lower-middle position and heat the oven to 375 degrees fahrenheit.
  4. Peel, quarter, core and cut the apples into 1-inch chunks.
  5. Toss the apples, zest, juice and sugar in a medium bowl.
  6. Place the fruit mixture into an 8-inch square baking pan or 9-inch deep-dish pie plate.
  7. Distribute the chilled topping evenly over the fruit. Bake for 40 minutes.
  8. Increase the oven temperature to 400 degrees fahrenheit, and bake for about 5 more minutes, until the fruit is bubbling and the topping turns deep golden brown.
By the way, we didn't win the cake contest, but we are featured on the website as one of their fifteen favorite cakes. The very first cake won (the one with the eagle head). We have googled the winner and it turns out she is a professional. However, we still wonder whether it might be possible that only 15 cakes were entered in the competition? Several of those featured are, in our opinion, boring and uncreative, repetitive and made with poor craftsmanship. Oh well. We will win the next one!

Cinnamon Buns


Charlotte constantly mentions the time she made cinnamon rolls. She describes it as one of the biggest challenges she's faced in the kitchen. On and on she goes about the dough and how hard it is to work with, how sticky it is, how long the recipe took, etc etc. After tackling the picnic table cake, everything we've baked since has seemed incredibly simple. So, we pulled out our new bible, Baking Illustrated, from the editors of Cook's Illustrated, and we got to work on cinnamon buns. Charlotte was right about the recipe taking a while. The dough has to rise twice, but we used our downtime to make another delicious treat which should be featured on here shortly. The rolls turned out big and beautiful. We completely forgot about glaze and whipped up a very basic icing with confectioner's sugar, butter and milk at the last minute, but the cinnamon buns were still incredible.

Cinnamon Buns
Adapted from Baking Illustrated

The Dough:

1/2 cup milk

8 tablespoons (1 stick) unsalted butter

1/2 cup warm water

1 envelope (about 2 1/4 teaspoons) instant yeast

1/4 cup sugar

1 egg + 2 egg yolks

1 1/2 teaspoons salt

4-4 1/4 cups unbleached all-purpose flour

For the filling:

3/4 cup packed light brown sugar

3 tablespoons ground cinnamon

1/8 teaspoon salt

For the icing:

3 cups of powdered sugar

4 tablespoons butter, softened

8-10 teaspoons of milk

2 teaspoon of vanilla

  1. Heat the milk and butter in a small saucepan or in the microwave until the butter melts.
  2. Remove the pan from the heat and set aside until the mixture is lukeworm.
  3. Mix together the water, yeast, sugar, egg, and yolks.
  4. Mix in 2 cups of the flour, until thoroughly blended.
  5. Add in another 2 cups of flour and knead. (You may need to add another 1/4 cup of flour.) Do this until the dough is smooth and freely clears the sides of the bowl.
  6. Scrape the dough onto a lightly floured work surface, shape the dough into a round, place it in a very lightly oiled large bowl, and cover the bowl with a towel or plastic wrap. Let rise for 1 1/2 to 2 hours.
  7. Once the dough has risen, press it down and turn it out onto a lightly floured work surface. Roll out the dough, and shape it into a 16 by 12-inch rectangle.
  8. Mix together the filling ingredients in a small bowl and sprinkle the filling over the dough, leaving a 1/2-inch border at the far edge.
  9. Roll the dough into a log, make sure you start on the longer side, (16 inch side).
  10. Moisten the top border with water, and seal the roll.
  11. Grease a 13 x 9 baking pan.
  12. Cut the roll into 12 equal pieces using dental floss. Place the rolls, cut-side up, on the baking pan. Cover with plastic wrap or dish towel, let rise for 1 1/2-2 hours.
  13. Adjust an oven rack in the middle position, and heat the oven to 350 degrees fahrenheit.
  14. Once the rolls have risen, place the pan into the oven for 25-30 minutes.
  15. Mix together the powdered sugar, butter, milk and vanilla. Drizzle the icing on top of the finished rolls.
These rolls are best when served immediately, but unfortunately ours were finally ready late at night. They were a fabulous midnight snack and they were still good for breakfast, but by lunch they had lost their freshness, especially in the Nantucket humidity. We recommend serving them as soon as possible after they finish baking.


Thursday, July 1, 2010

Coconut, Pretzel & Chocolate Obsession

Lately, we've been craving large bags of coconut, heaping servings of chocolate, and copious amounts of pretzels. It started last week, when we decided that a chocolate/pretzel/coconut cookie would be delicious. We whipped up some cookie dough, making up the recipe along the way, and added our three favorite ingredients of the week.


They actually looked pretty good going into the oven. The batter tasted amazing. Unfortunately, when we checked ten minutes later, the high concentration of butter in the cookies had melted everywhere and was now dripping off the cookie sheet. In a state of panic, we scraped up the seeping mess and threw it in a bowl. It looked almost the same as it had ten minutes prior, perhaps a tad browner. Thinking that this disaster could be salvaged, we added more flour, oats and eggs to the mixture and chose a new cookie sheet, this one with high edges to stop anything else from spilling onto the floor of the oven. After the second round, the cookies looked alright, but they tasted very blah. They weren't disgusting, but they were certainly not anything you would want to eat.

We sent them home with a friend who actually liked them a bit and concluded that this attempt was a failure. However, the craving for coconut, pretzels and chocolate lived on.

Next up, we went all coconut with coconut ice cream. We threw some skim milk, coconut milk, half-and-half, shredded sweetened coconut and sugar into the food processor. Then, Byrne's ice cream machine went to work, freezing and thickening the gunk. When the ice cream was finished, it was completely refreshing and definitely what we were craving, but the consistency wasn't right, so the recipe isn't quite "blog-worthy". We will have to find a better one another time.


Not completely content with how the ice cream worked out, we went to work on something else, this time reintroducing the pretzels and chocolate. We wanted to do something simple, since the first few tries weren't satisfactory. Chocolate covered pretzel rods with shredded coconut. Yum. These are really too basic to write out a recipe for.


We melted chocolate chips in a saucepan.


We spread the gooey chocolate on one half of several pretzel rods.


We rolled the chocolate-half in shredded coconut.


The rods are all set to go in the fridge!


After a few minutes of hardening, they are finished! The pretzels were exactly what we were craving. Success!